You can set up lists of predefined attributes and assign them to your items or cards. This means you can group your items or cards to a greater degree than is possible with identifiers.
For example, you could set up a custom list containing each of your sales territories, and allocate those customers to the appropriate territory. You can then filter reports to only show information about customers who are within a particular sales territory.
Custom lists are made up of:
the name of the custom list, such as "Sales Territory", and
the entries within a custom list, such as "City centre, North, South", etc.
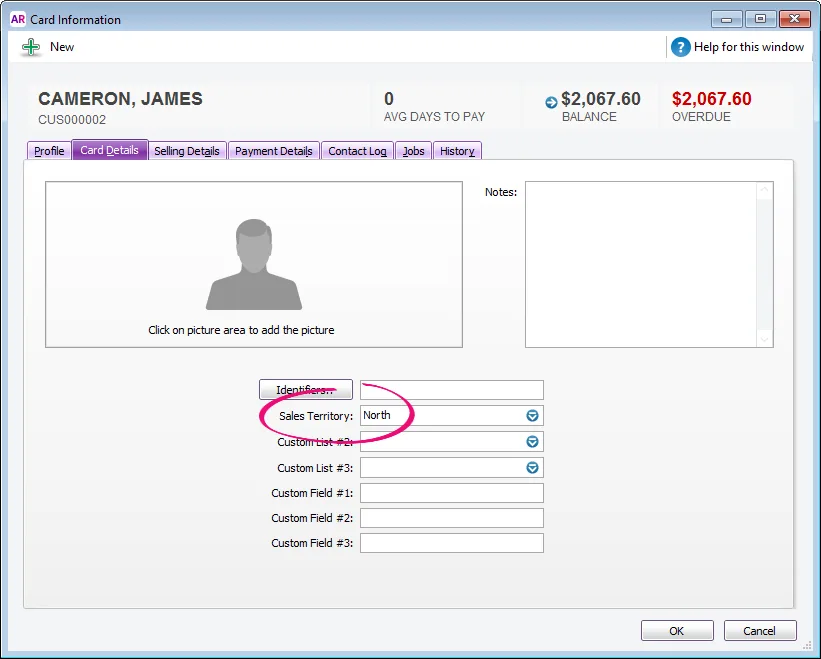
Custom lists are displayed on the Card Details tab of your cards, or the Item Details tab of your items.
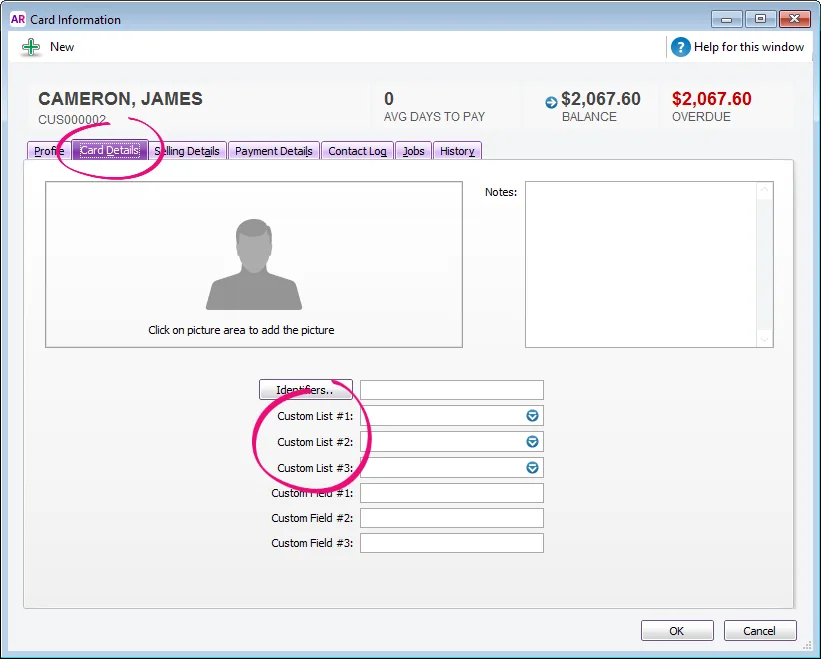
Here's how to set up a custom list.
To name or rename a custom list
Go to the Lists menu, choose Custom Lists & Field Names, and then choose the card type for which you want to create a custom list, for example, Customers. The Custom List and Field Names window appears.
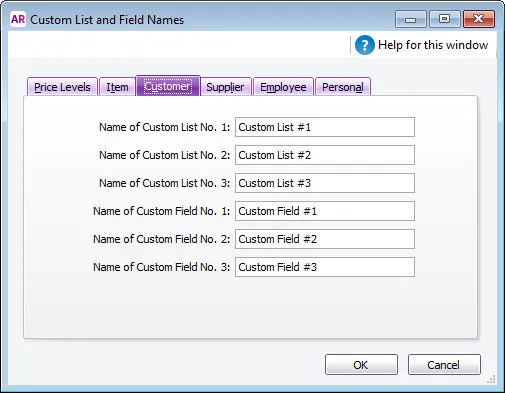
Enter names for the lists you want to create for the card type you selected. For example, enter ‘Sales Territory’.
Click OK. The names you have entered will now appear in the Card Details tab of the Card Information window.
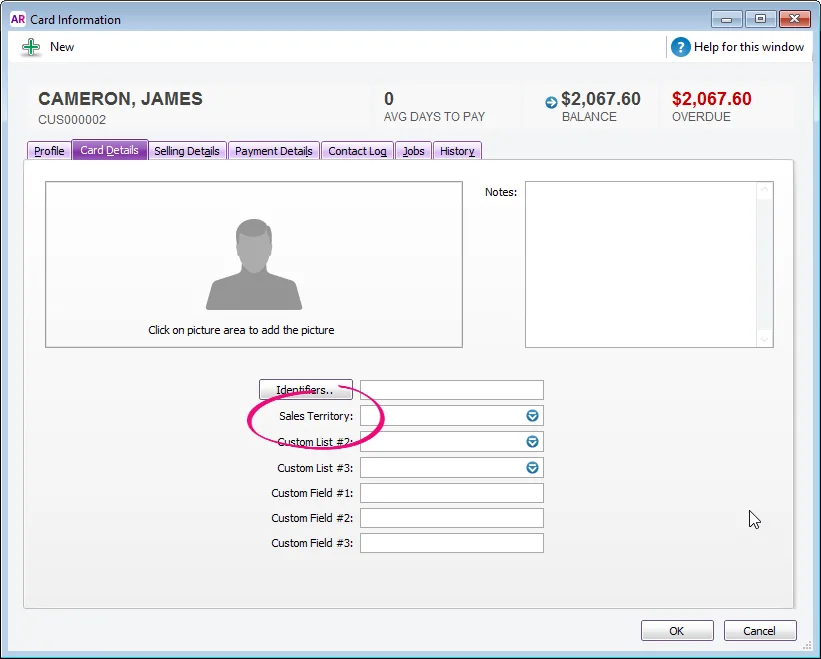
To create a custom list entry
Go to the Lists menu, choose Custom Lists and then choose the card type for which you want to create a custom list entry, for example, Customers. The Custom Lists window appears.
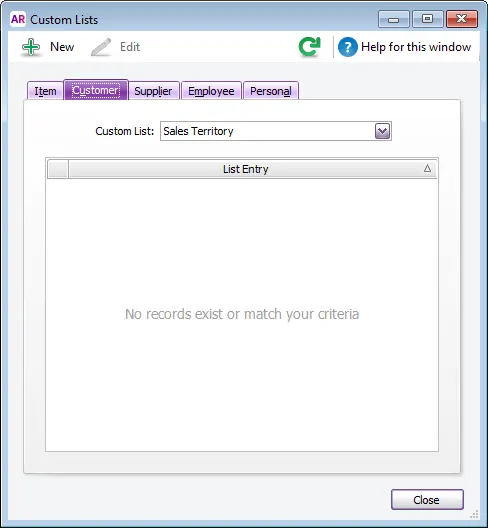
Select the custom list for which you want to create an entry. For example, Custom List #1.
Click New. The Custom List Information window appears.
Type the custom list entry name (for example, enter ‘City centre’, ‘North’, "East", etc.) and then click OK.
Repeat steps 3-4 for each entry you want to add.
The entries appear in the Custom Lists window.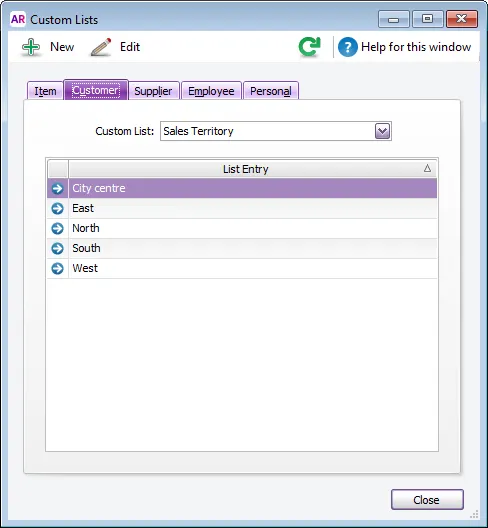
To assign a custom list entry to a card
Go to the Card File command centre and click Cards List. The Cards List window appears.
Click the zoom arrow next to the card you want to edit. The Card Information window appears.
Click the Card Details tab.
Enter the list entry you want to assign to the card next to each custom list field. For example, select North from the Sales territory field.
To edit or delete a custom list entry
Go to the Lists menu, choose Custom Lists and then choose the card type for which you want to create a custom list entry, for example, Customers. The Custom Lists window appears.
To edit an entry:
Click an entry.
Click Edit.
Make your changes.
Click OK.
To delete an entry, right-click it and choose Delete List Entry.
You'll be alerted if the custom list entry has been used in a card or item. Deleting it will remove it from cards and items.
Deleting custom lists
Custom lists are always displayed in cards and items and can't be deleted. You can delete the custom list entries (see the steps above) then, if you like, you can rename the custom list.