AccountRight has many reports that help you see where your business is at, and what you need to give attention to. If a report you need isn't there, you can have a go at customising one of the default reports to include the information you need. Or, export the information you need and open the export file in Excel.
Having an issue displaying a report? Check the FAQs below.
To display a report
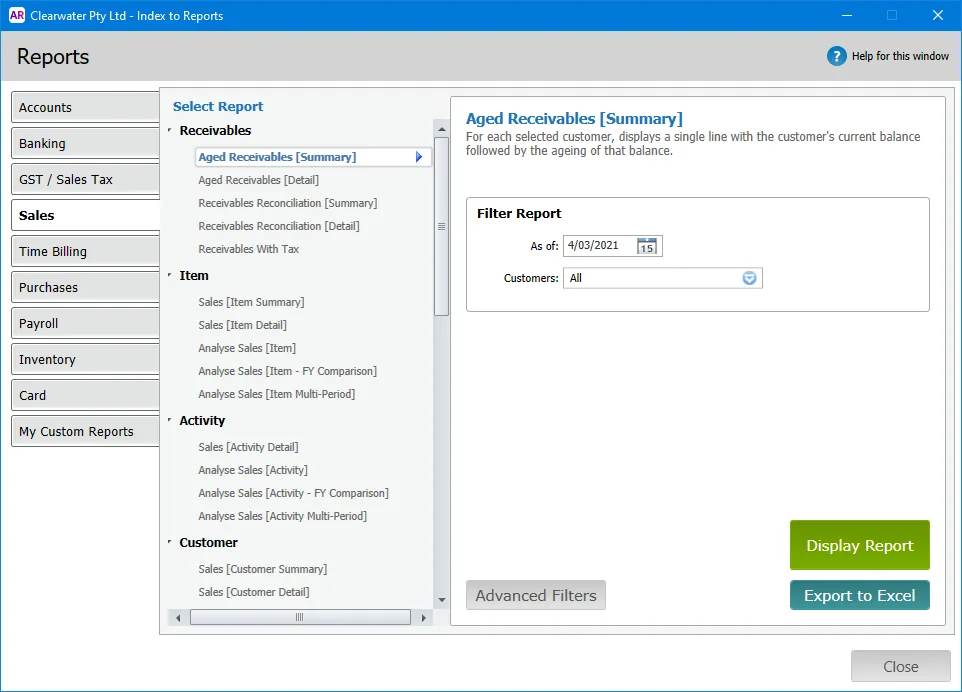
Go to the Reports menu (at the top of the AccountRight window) and choose Index to Reports. The Index to Reports window appears.
Click the tab corresponding to the type of report you want to display. A list of report headings appears.
Click the required report group and then click the report you want to display.
Enter or select the date range or period for which you want to view the report. Note that this option is not available for some reports.

(Optional)
Click Advanced Filters if you want to select more report filters before generating the report. This might be a good idea if you're reporting for a wide date range, or have lots of transactions or records.
Click Export to Excel to run the report and display it in Microsoft Excel. Learn more about Exporting reports.
Click Display Report. The Report window appears.
You can now filter and modify the report. Click the appropriate tab in the Report window's ribbon:
Click the Filters tab to sort and filter the information that appears on the report. After selecting your filters, click Run Report to apply the changes.

Click the Print Preview tab to change the page or margin size of the document, and to see how the report will print or be saved.

Click the Insert/Modify tab to add or remove report fields and columns, insert a picture or include additional text. See Customising reports.

Click the Print Preview tab to see how your changes look if the report is printed, exported or emailed.
You can save the changes you've made to the report's appearance, so that it's available in the same format next time.
You can print or email the report, or export the report information to an Excel, text or PDF file.
FAQs
Where is the session report that was in AccountRight v19?
Are you looking for the Session Report that was available in AccountRight v19? This report is now called the Journal Security Audit report (listed under Security and Audit in the Accounts report group).
Unlike the old Session Report, the Journal Security Audit report can be produced at any time, even after closing and reopening the company file. It also provides a lot more detail about the changes in your company file, such as detail of any deleted transactions or changed preferences. And you can filter it by transaction type and user ID.
How do I print account numbers on reports?
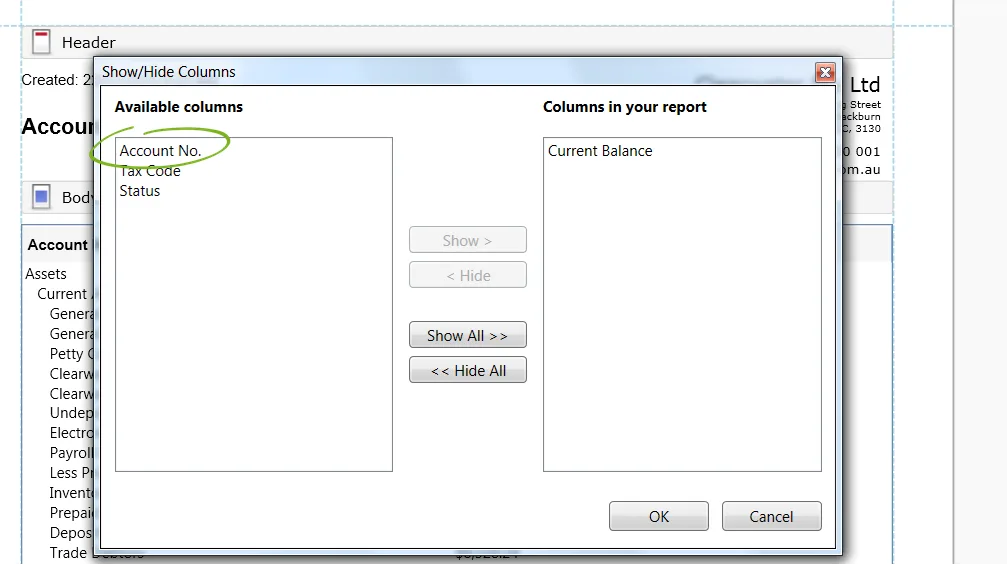
Account numbers are not included on all account reports by default. This includes the Balance Sheet, P&L, accounts list and trial balance reports. To add account numbers, you need to add the Account No. column to the report (if available).
Open the report, such as the Accounts List [Summary] report.
Select the Insert/Modify tab.

Click Show/Hide (in the Report Columns section of the ribbon). A list of available columns appears.

Select the Account No. column and then click Show.

Click OK.
Click the Print Preview tab to save the changes (you'll need to do this before printing, exporting or emailing the report).
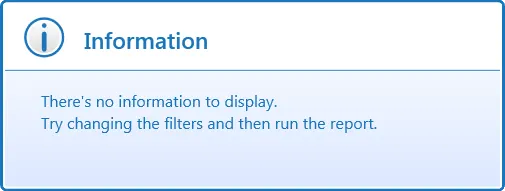
Why do I see the "No information to display" message when running a report?

If you're trying to run a report and a message advises "There's no information to display", try the following:
Check the date range you've specified for the report.
Check the filters you've specified for the report. For example, you might be trying to report on an account which has no transactions against it. Try reporting on all accounts.
Restart AccountRight, then try to run the report again.
Seeing this message when running the Analyse Inventory (Summary) report?
Contact us and we'll help fix the issue
If the message persists, try deleting the contents of the Cache folder on your computer. This folder contains temporary files which can sometimes prevent some reports displaying correctly. The Cache folder is located here:
C:\Users\user.name\AppData\Local\MYOB\AccountRight\20xx.x\Cache
('user.name' refers to the name of the Windows user, and '20xx.x' is your AccountRight version)
Why is the Export to Excel button greyed out?
The Export to Excel button is greyed out if you don't have a supported version of Microsoft Excel installed (2010 or later). You can export the report as a CSV or TSV file after displaying the report, and then open the file using Excel.
Using Office 365? Make sure Excel is installed on your computer and not accessed via a web browser.
Also, if you've selected a custom report, the Export to Excel button is unavailable in the Index to Reports window, however you can export the report to Excel after displaying it.
Why won't reports print on a specific printer?
If you're having trouble printing from AccountRight, make sure your printer driver is up to date. You can check the printer manufacturer's website for driver updates. Also see Printing from AccountRight for additional troubleshooting options.
A temporary workaround is to save your report as a PDF file which you'll then be able to print.
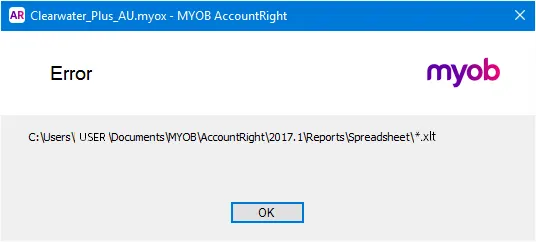
Why do I receive an error when sending my report to excel?
The below error suggests that the template file doesn't exist in the specified location or you don't have permission to access it.
You can check the location manually to see if the files exist, if they do you have a permissions issue. If the files don't exist you'll need to uninstall and reinstall your AccountRight software.
