AccountRight comes with a set of invoice form templates which are used when printing or emailing PDF invoices. And it's easy to change these forms to add your own personal touch.
By default, business details entered in the Company Information window (Setup menu > Company Information) will appear on your invoices. This includes your company name and contact details:

You can add your business logo and a 'how to pay' section, or make your invoices stand out with a splash of colour. It's up to you.
Take a look at this quick overview:
You can use one invoice form for all your sales or have separate forms for invoices, quotes and orders. You can also create different versions of an invoice form depending on what you're selling or who you're selling to.
OK, let's step you through it.
To customise an invoice
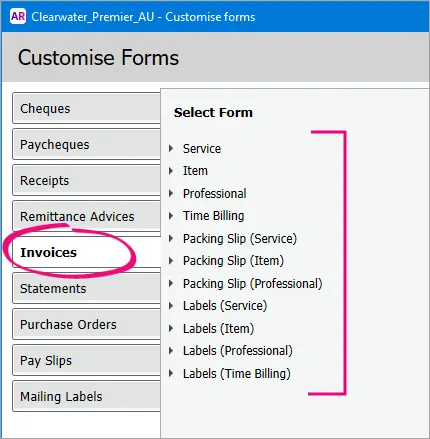
Go to the Setup menu and choose Customise Forms. The Customise Forms window appears.
Click the Invoices tab on the left.
Click the type of invoice form you want to customise (Service, Item, Professional, etc.). The forms for that invoice type will be listed.
Choose the correct form
Make sure you're customising the correct invoice form for your needs. For example, if you use the Service layout when entering an invoice, customise a Service invoice form. Also, choose a tax inclusive or tax exclusive form to reflect how you charge customers GST.
Select the form you want to customise then click Customise. The form opens, ready to be modified.
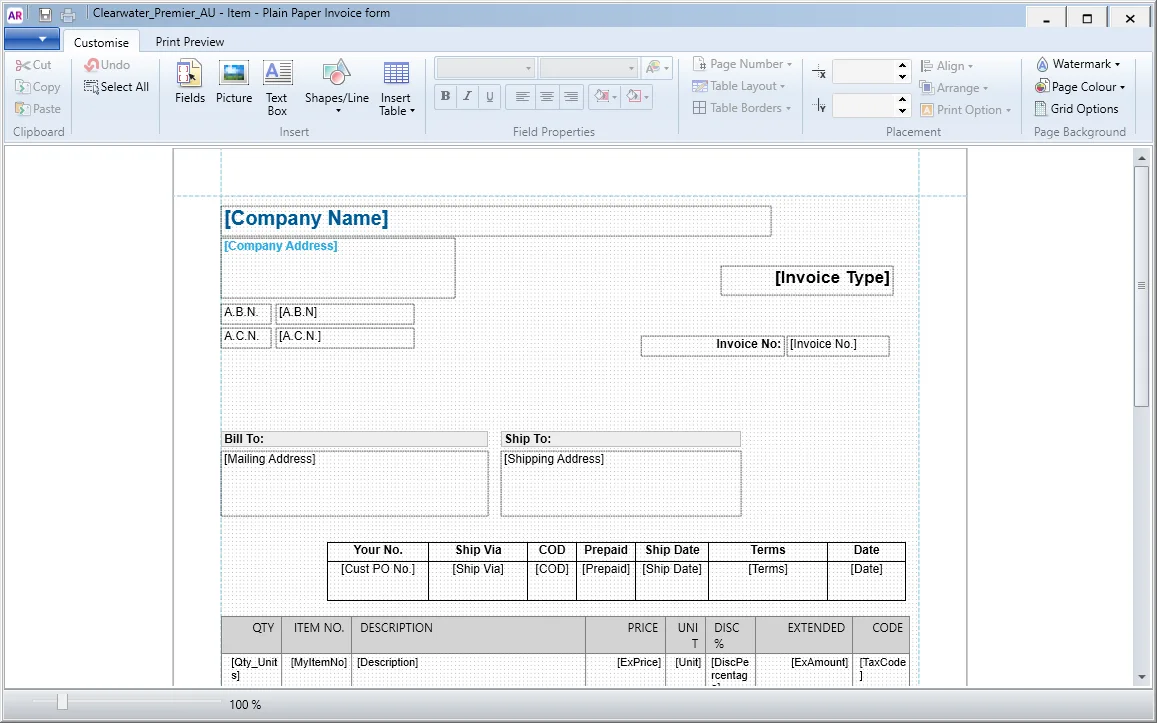
Customise the form to suit your needs:
Set up the page first
We recommend setting your page margins, orientation and page size first (show me how). Otherwise, changing this later can throw out any other customisations you may have made.
To set page margins, orientation, size, or set a background or watermarks, see Set the form size and background.
To add a business logo, letterhead, or another image, see Add pictures and shapes to forms.
To change which information is shown on the form, see Add text and fields to forms, and Add tables to forms.
For reference, see Fields and columns you can add to forms.To arrange your form, and move around fields and images, see Editing form elements.
To preview your form, click the Print Preview tab.
When you've finished customising your form, click the Save button (top-left corner). The Save Form As window appears:
Enter a name and a description for the form.
Click Save then click OK to the confirmation message.
To close the form, go to the File menu and choose Exit. If prompted to save again, click No.
The Customise Forms window reappears. Your customised invoice will be listed.


To add direct deposit banking details to your invoice
Direct deposit is a popular payment option which lets your customers pay directly into your bank account. In Australia, the New Payments Platform is making this even easier.
Here's how to add banking details to your invoice form.
Go to the Setup menu and choose Customise Forms. The Customise Forms window appears.
Click the Invoices tab on the left.
Select the form you want to use then click Customise. The form opens, ready to be modified.
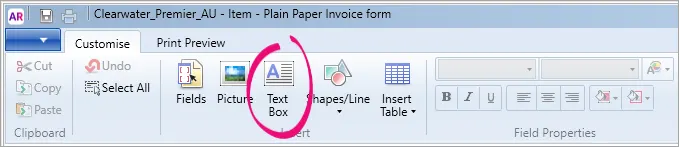
Click Text Box in the toolbar.
In the applicable place on your form, drag a box that's large enough to include your payment instructions.
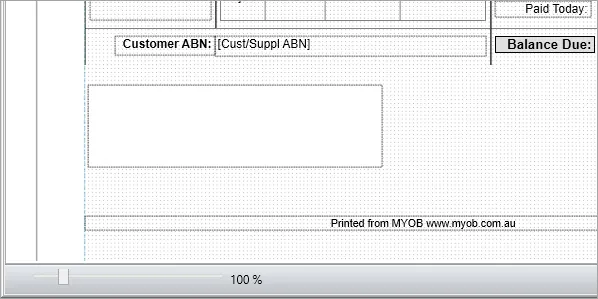
Double click the text box and type your payment instructions, for example:
For Direct Deposit:
BSB: 013000
Account: 12345678
Payment Reference: Invoice number or customer name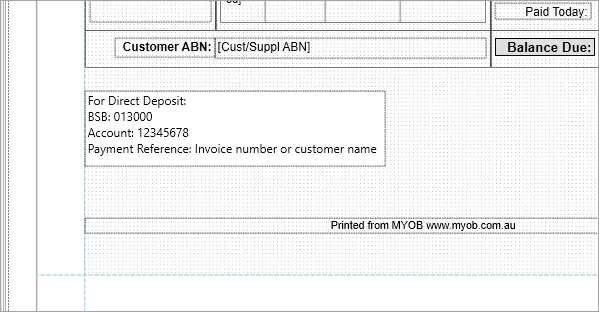
Using bank feeds?
To help make it easy to identify customer payments coming through in your bank feeds, encourage your clients to include additional details in the payment, such as their name and invoice number.
You can resize the text box, or format the text size, font and colour using the options in the Customise tab.
Click the Print Preview tab to check how the new section will look.
When you're done, click the Save button (top-left corner).
If prompted, enter a name for this customised form then click Save then click OK to the confirmation message.
To close the form, go to the File menu and choose Exit. If prompted to save again, click No.
Repeat this process for any other invoice forms you want to add your payment details to.


To add payment terms to your invoice
The credit terms that appear on the top of a sale transaction in AccountRight can easily be added to your customised invoice.

Here's how to do it:
Go to the Setup menu and choose Customise Forms. The Customise Forms window appears.
Click the Invoices tab on the left.
Select the form you want to use then click Customise. The form opens, ready to be modified.
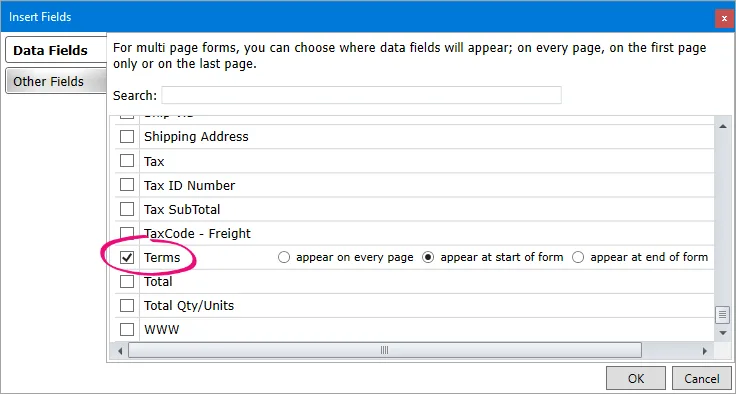
Click Fields. The Insert Fields window appears.
On the Data Fields tab, select the Terms field and choose a display option (appear on every page, appear at start of form or appear at end of form).
For a description of each data field you can add, see Fields and columns you can add to forms.
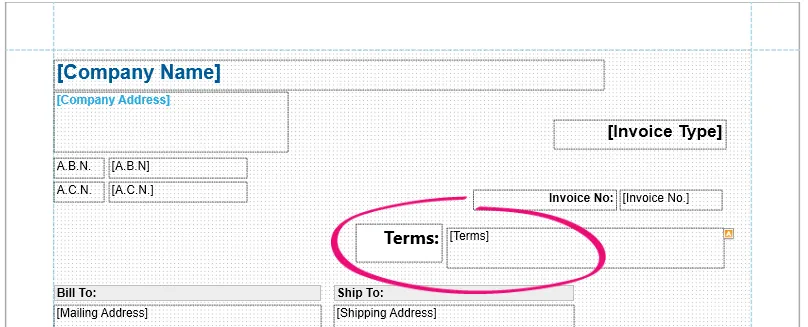
Click OK. The Terms data field appears on the form.
Move the data field to the required position by clicking and dragging it.
(Optional) Add a text field which states "Terms:" (or similar) next to the Terms data field.
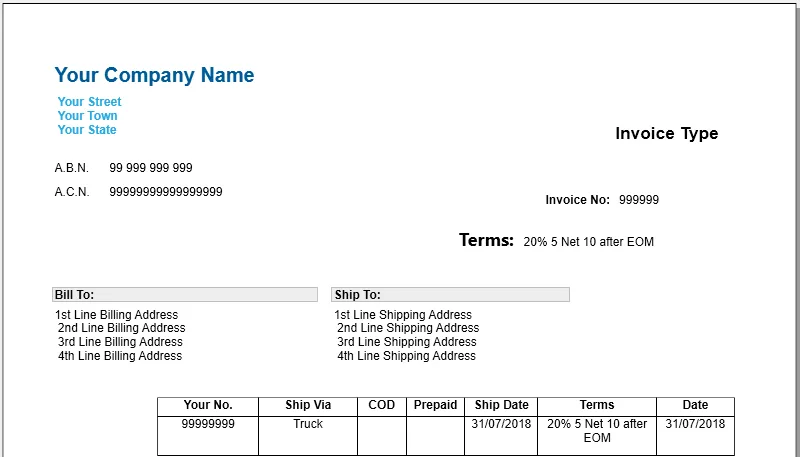
Click Print Preview to view your handy work.


To use your customised invoice when printing or emailing
You've made the effort to personalise an invoice, so here's how to use it when printing or emailing.
Saving invoices
To save an invoice as a PDF, open the invoice, click Send To > Disk, then choose where you want to save the PDF.

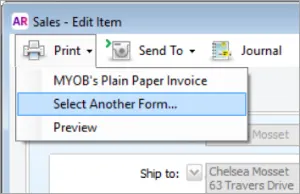
To print an invoice when you record it:
Click Print then choose Select Another Form.
Select your customised invoice.
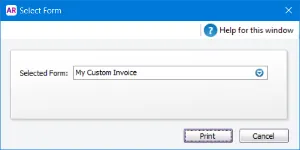
Click Print.


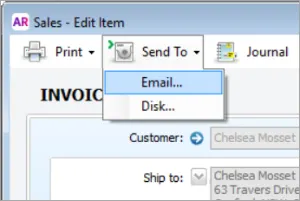
To email an invoice when you record it:
Click Send To and choose Email.
In the Selected Form field, select your customised invoice.
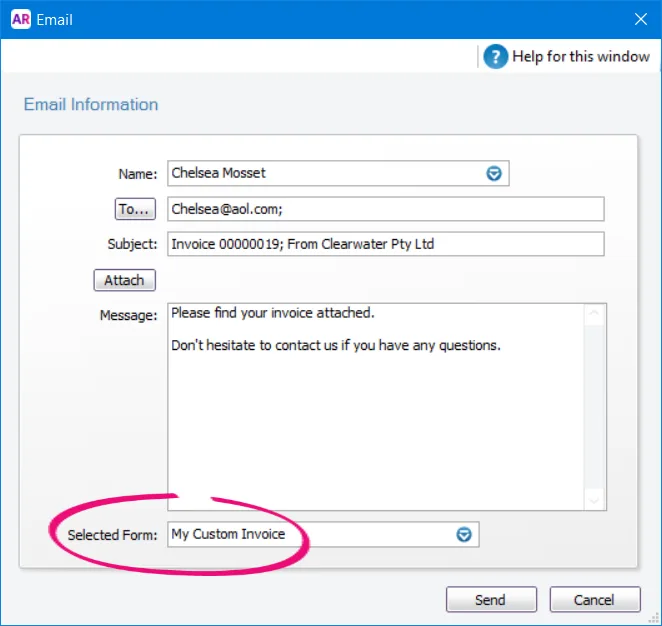
Click Send.


To print or email an invoice after you record it:
Select the form you want to use via the Advanced Filters on the Print/Email Invoices window.

For all the details, see Set the default forms to use when emailing or printing.
Can't see your customised invoice?
Check that you've customised the correct invoice form type. For example, if you're emailing or printing an item invoice (using the Item layout), only item invoice forms will be available for use.
To set a customer's default invoice form
If you have different invoice forms for different customers, you can set the default form to use in the customer's card. To set the default form to use for all customers, see Set the default forms to use when emailing or printing.
To set a customer's default form
Go to the Card File command centre and click Cards List.
Click the Customer tab.
Click the zoom arrow to open the customer's card.
Click the Selling Details tab.
In the Printed Form field, select the customised invoice for this customer.

If you can't see your customised form, make sure the applicable Sale Layout is selected.Click OK.

FAQs
How do I show the currency code on my invoices?
If you're using multi-currency in AccountRight Premier, you'll want to show the currency code on your invoices.
To do this, add the [Currency Code] data field and a text field to show "Amounts in" (or similar). Learn more about adding text and fields to forms.
Here's our example:
