Having issues after updating your Invoice app?
Try clearing:
Working outside of the office shouldn’t affect your processes. With the MYOB Invoice app, you can create quotes, invoices, customers and suppliers on your mobile device. The best part? It's all linked to your MYOB file, so your business info is always up to date and easily accessible.
Install the app
First, check that your device is compatible with MYOB Invoice:
Android: 4.1 or later
iOS: 9.0 or later - iPhone and iPod touch.
Find the MYOB Invoice app in the App Store or via Google Play. The app's logo looks like this:

Use these direct links to download and install the MYOB Invoice app:
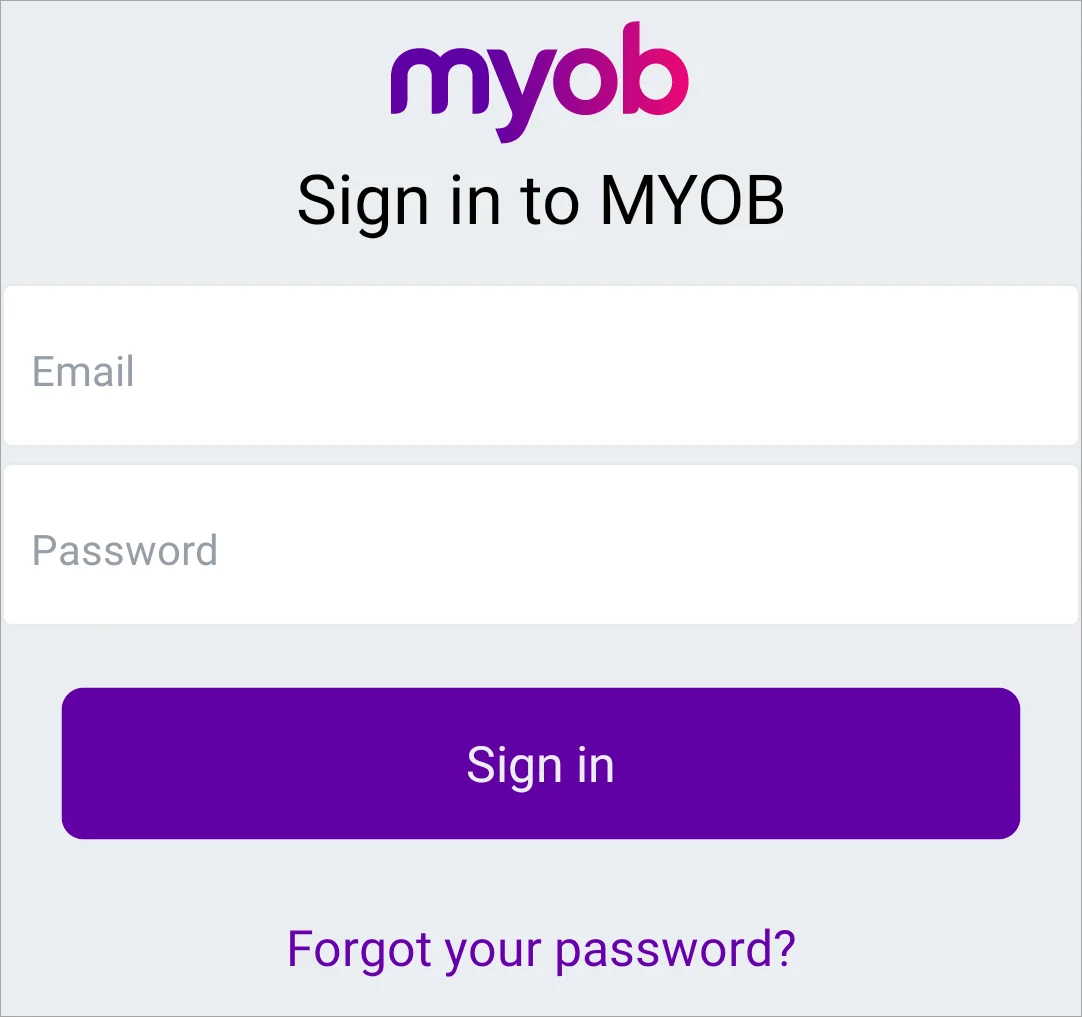
In the screen that appears, click Get started. The Sign in to MYOB screen appears.

Sign in with your your MYOB account details .
You can set a 4-digit security PIN, which will make future sign-ins faster and easier. Enter your PIN and tap Next, or tap Skip for now.
If you ever need to change your PIN, just tap Forgotten your password? on the PIN entry screen. Re-enter your my.MYOB details and change the PIN.
If you have multiple businesses, tap the company file you'd like to use MYOB Invoice for in the Choose your file screen.
You can switch between your other businesses within MYOB Invoice by tapping Settings and then Switch . If you need to change the name of a business, you can do this in the Business settings of MYOB Business.
You're now ready to manage your invoices, quotes, and contacts. Use the panel at the bottom to navigate between these screens.

Using the app
Let's take a look at what you can do on the app screens:
Invoices
The Invoices screen is what you see first when you log in to the app. You can also access it by tapping Invoices .
From here, you can view, edit, create and send invoices on the go. Use the All, Overdue, and Paid tabs to see your invoices (with due amounts), and keep track of which invoices are yet to be paid, or already paid. You can also search for invoices.
Create an invoice
On the Invoices screen, tap +.
Choose the customer you'd like to invoice.
The first time you create an invoice, you'll be asked whether your invoices include or exclude tax. Choose your preference.
Enter the details of your invoice, adding as many lines as you need.
If needed, choose a different Layout.
Select the payment terms, from Payment is due.
If you choose this month or next month, select the date in Payment due date.
If you choose a number of days after this month or a number of days after the issue date, enter the number of days in Payment due days.
Tap Save to record the sale.
Your invoice will be saved in the MYOB Invoice app as well as your MYOB file.
Invoice actions
You can view your invoice as a PDF, share or email it, and enter payment for it.
Tap Invoices, tap on an invoice, and follow the steps below. Any changes you make will be saved in the MYOB Invoice app and your MYOB file.
Currently you can only delete an invoice in your MYOB file. For the steps, see Deleting invoices.
View activity history
Tap Activity history.
A browser page will open, displaying all changes to the invoice, such as when it was emailed and viewed.
To see details of invoice payments, open the invoice in MYOB.
View and share the invoice as a PDF file
Tap More and then choose Preview. A PDF version of the invoice will appear.
If you need to, choose a different Form template.
Tap the share icon to send the PDF to any of the other apps on your phone.
Email the invoice
Tap Email. An email with the invoice attached will appear.
If you need to, choose a different Form template.
Check or enter the email address in the To field.
Tap Send to send the email.
Take payment for the invoice
Tap Payment.
Select the payment method and choose the bank account to deposit the payment to.
Tap Save to confirm payment.
Fully paid invoices will appear under the Paid tab. To see details of invoice payments, open the invoice in MYOB.
Quotes
Create a quote
Tap Quotes .
Tap + .
Select the customer you'd like to send a quote to.
Fill in the details of your quote.
Tap Save.
This quote will now be saved in your MYOB Invoice app as well as your MYOB file.
Quote actions
You can view your quote as a PDF, convert it to an invoice, and share or email it.
Tap Quotes , tap on a quote, and follow the steps below.
View and share the quote as a PDF file
Tap More and then choose Preview. A PDF version of the quote will appear.
If you need to, choose a different Form template.
Tap the share icon to send the PDF to any of the other apps on your phone.
Convert the quote to an invoice
Tap More and then choose Convert to invoice.
A new invoice appears, containing information from the quote, like the description of the sale and the balance due.
Change any details you need to, like the Layout.
Select the payment terms, from Payment is due. If you choose:
this month or next month, select the date in Payment due date.
a number of days after this month or a number of days after the issue date, enter the number of days in Payment due days.
Tap Save to save this new invoice.
The original quote will still appear in the Quotes screen of the MYOB Invoice app. However, you can delete the quote in MYOB if you like.
Email the quote
Tap Email. An email with the quote attached will appear.
If you need to, choose a different Form template.
Check or enter the email address in the To field.
Tap Send to send the email.
Contacts
You can view, add and edit customers and supplier from the Contacts screen.
You can only delete contacts in your MYOB Business, not in the app. See Deleting customers or Deleting suppliers.
Having their details saved also means you can quickly call or message your contacts right from the app. If you have your contact's address saved, you can simply click on it to open up their address in your phone's mapping app.
Adding a customer or supplier
Tap Contacts .
Tap +.
Choose whether the contact is a customer or a supplier.
In the Designation field, select whether you'd like to create an individual or a company.
Fill in all the details of your contact.
Tap Save.
This contact will now be saved in the MYOB Invoice app as well as in your MYOB file.